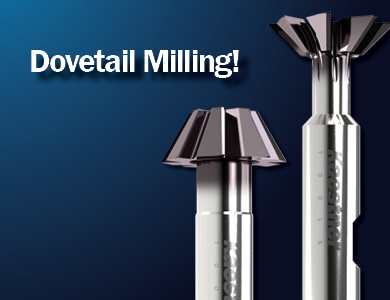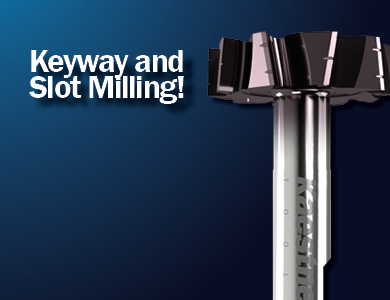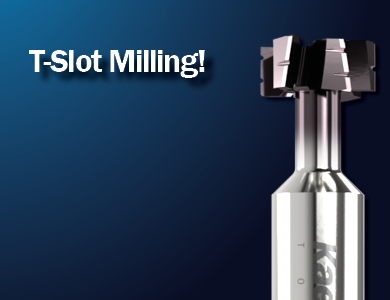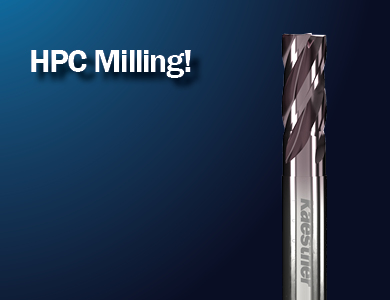
Milling! With Kaestner-Tools!
Kaestner-Tools offers you high-performance tools for dovetail milling, keyway and slot milling, T-slot milling as well as end mills with cutting edges for milling applications in small bores.
Apart from the standard range, the following types of milling cutters can be offered as high-quality customized solutions:
Further end mill solutions:
- Shanked cutters and shank-type form cutters
- Lollipop end mills
- Torus cutters
- Corner rounding cutter
Versions
- with cylindrical shank
- with morse taper shank
- with steep taper shank
- for finishing
- for roughing
- roughing & finishing
Disc milling cutters:

Standard disc milling cutters for general groove milling:
In the standard range, Kaestner-Tools offers solid carbide or HSS disc milling cutters (see DIN 885-A) for general groove milling, which can also be used as set milling cutters.
The disc milling cutters with cutting circle diameters from Ø 40.0 mm - 100.00 mm (solid carbide) can be found in the standard catalog KT21/1.
Apart from the standard range, the following types of disc milling cutters can be offered as high-quality customized solutions:
- Groove cutters
- Angular milling cutter
- Double angle cutter
- Convex/concave milling cutters
- Corner rounding cutters
Profile Milling Cutters with relief for notched bars

V-Notches
brazed carbide or solid carbide
Notched bar impact testing (Charpy test) acc. to DIN EN 148-1 (ISO/ V)
45°±30' x R 0,25±0,025
Milling depth up to 2 mm
U-Notches
brazed carbide or solid carbide
Notched bar impact testing (Charpy test) acc. to DIN EN 148-1 (ISO/ U and DVM)
Convexe R 1±0,07
Milling depth up to 5 mm
Entire profile with radial relief (appr. 2/3 of tooth has constant profile, can therefore often be sharpened in the chip space).
Complete re-grinding of the profile will thus become necessary only when the teeth have been decreased by 2/3 or if the profile has been deformed > This is cost-effectiveness.
Please note:
According to DIN 148-1 (prev. 50115) high precision with a very tight tolerance is required for notched bars. This is necessary in order for strength calculations of the tested material to be carried out correctly and precisely for statistical evidence testing. In most cases a measuring protocol of the milling cutter is required along with the provision of evidence. In order to provide this high precision to our customers and in order to meet the DIN requirements using the right tools we offer our own in-stock programme of milling cutters for notched bars (including a measuring protocol if required).


